How To Setup Remote WSL for Hassle-Free Development on Windows.


No Linux no problem. Learn how to develop in Linux directly from Windows!
In one of my previous posts I demonstrated the use of a Python framework called Celery. The tutorial relied on using a special kind of database service called Redis. However Redis is not officially supported on Windows making it impossible to follow the tutorial for Windows users. I am a Windows user myself and it's the OS I grew up with. Despite its flaws I am hesitant to switch over to a Unix-based one such as MacOS or Linux.
But there's got to be a way to have a reliable and consistent development workflow on a Windows machine.
There is indeed and that's the topic of this post!
In this post we will develop a Python program in a Linux environment on a Windows computer! We will use WSL and the VSCode extension: wsl-remote to develop it.
WSL
WSL stands for Windows Subsystem for Linux. In essence WSL allows Windows users to run a Linux environment on their machines. Since it is a complete Linux installation, Linux commands such as grep, ls and find can be used.
WSL gives the following benefits:
- Faster than traditional virtual machine (VirtualBox)
- Avoid the hassle of dual booting Linux
- Avoid the hassle of booting Linux from a pendrive
- Fully supported by VSCode through extension
Install WSL
WSL can be installed by running the following in a PowerShell terminal:
wsl --installOnce installed you can search for Ubuntu in Windows search to launch it.
Ubuntu is the default OS that is installed. The terminal should open and it may ask you for some initial configuration. Just follow the prompts.
When you are done, keep the window open.
If you face any issues or want to follow the official guide you can follow this link Install WSL | Microsoft .
Install WSL-remote extension
Open up VSCode and search for remote - wsl in the extensions tab.
Once found, install the extension.
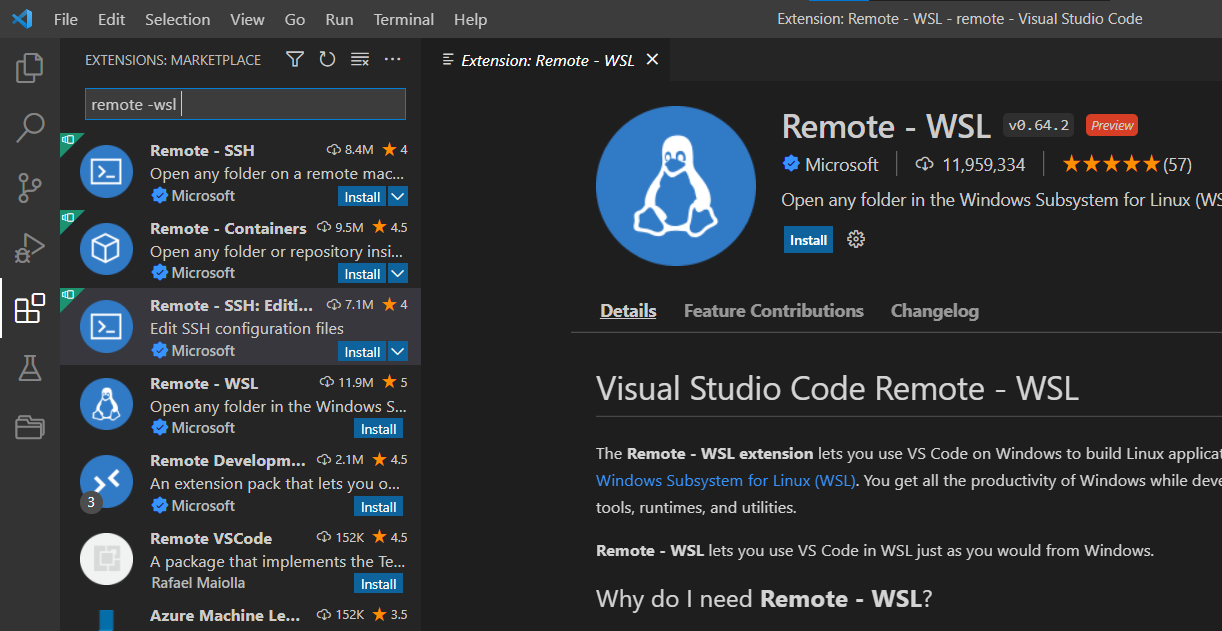
The remote-wsl extension connects VSCode to WSL. It allows us to use VSCode as if we were developing on a Linux computer. This means the integrated terminal in VSCode would be a bash shell instance😊. It also means that IDE magic such as autocomplete and linting work completely as expected even though we are developing inside WSL.
You may close the VSCode window now.
Let's get stared!
In the Ubuntu terminal make a new directory using mkdir.
You can call it whatever you like. I'll call it wslremote. So:
mkdir wslremoteThen cd into the directory with:
cd wslremoteAfter that, write code . (with the period .) to open the directory inside VScode. You may to accept a prompt and trust the owners of the folder.
That's it!
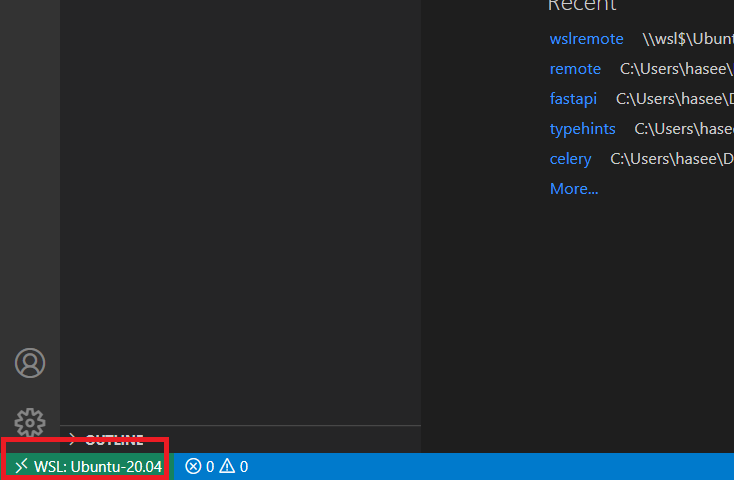
If you check the bottom left of the window you'll see that VSCode is connected to WSL: Ubuntu.
You can now open a new integrated terminal using the terminal tab at the top of the window.
You'll notice we are connected to a Bash terminal inside WSL:
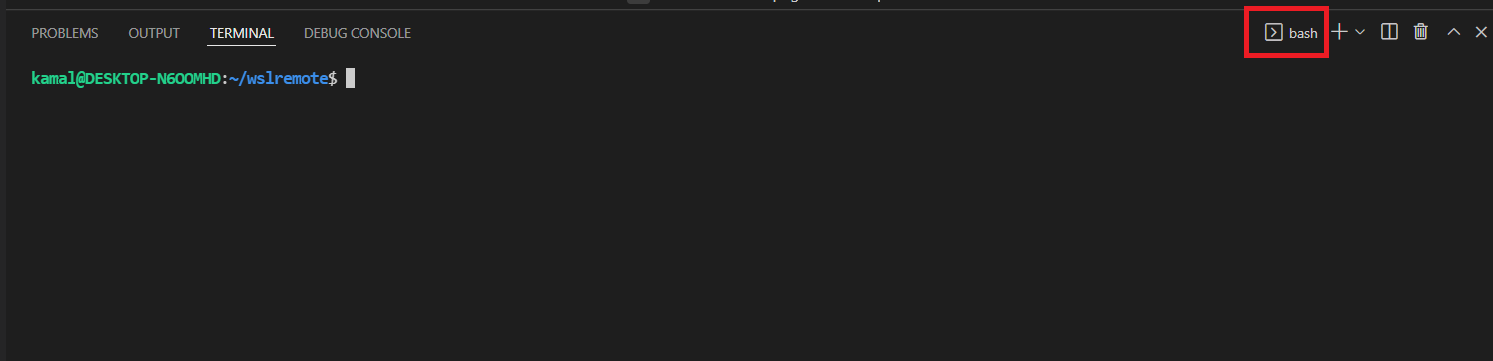
We can now use Linux commands in here.
Go ahead and use touch to create a Python file called app.py.
Open the file from the file explorer on the left hand side of the VSCode window.
Install Python & execute
Because we are developing inside WSL which is a standalone Linux environment, it does not have Python installed by default. So even though you may have Python installed on your Windows computer you will have to install it on the Ubuntu installation. You can install Python and pip by pasting the following commands in the Ubuntu terminal window:
sudo apt update
sudo apt install python3 python3-pip
Now you can run the following in the integrated terminal in VSCode to verify installation:
python3 --version
>> Python 3.8.10
We can now write a simple Hello World app in the app.py file:
print("Hello, World!")This can now be executed inside the integrated terminal:
python3 app.py
>> Hello, World!
Remote containers & Conclusion
The example in this post was quite elementary but this methodology is extremely useful in cases where Unix based frameworks such as Redis, are used.
It can also prove helpful in streamlining workflows in development teams. Especially in situations where some use Windows and others use Unix based OS's.
There also exists a remote-container extension that allows one to develop directly inside a Docker container.
Why would you want to do this though?
We needed to install Python in WSL before we could run the program. With Docker we can specify Python to be installed during the build phase of the container. So with the extension and the relevant Docker files we can start developing and running programs without having to explicitly install Linux packages. Again this improves and streamlines workflows.
That's it for this post.
Hope you learned something useful!
Enjoyed this article? Please consider subscribing using the form below😇
It is 100% free. You get an email every time I post (about once a week) + access to premium content in the future.